
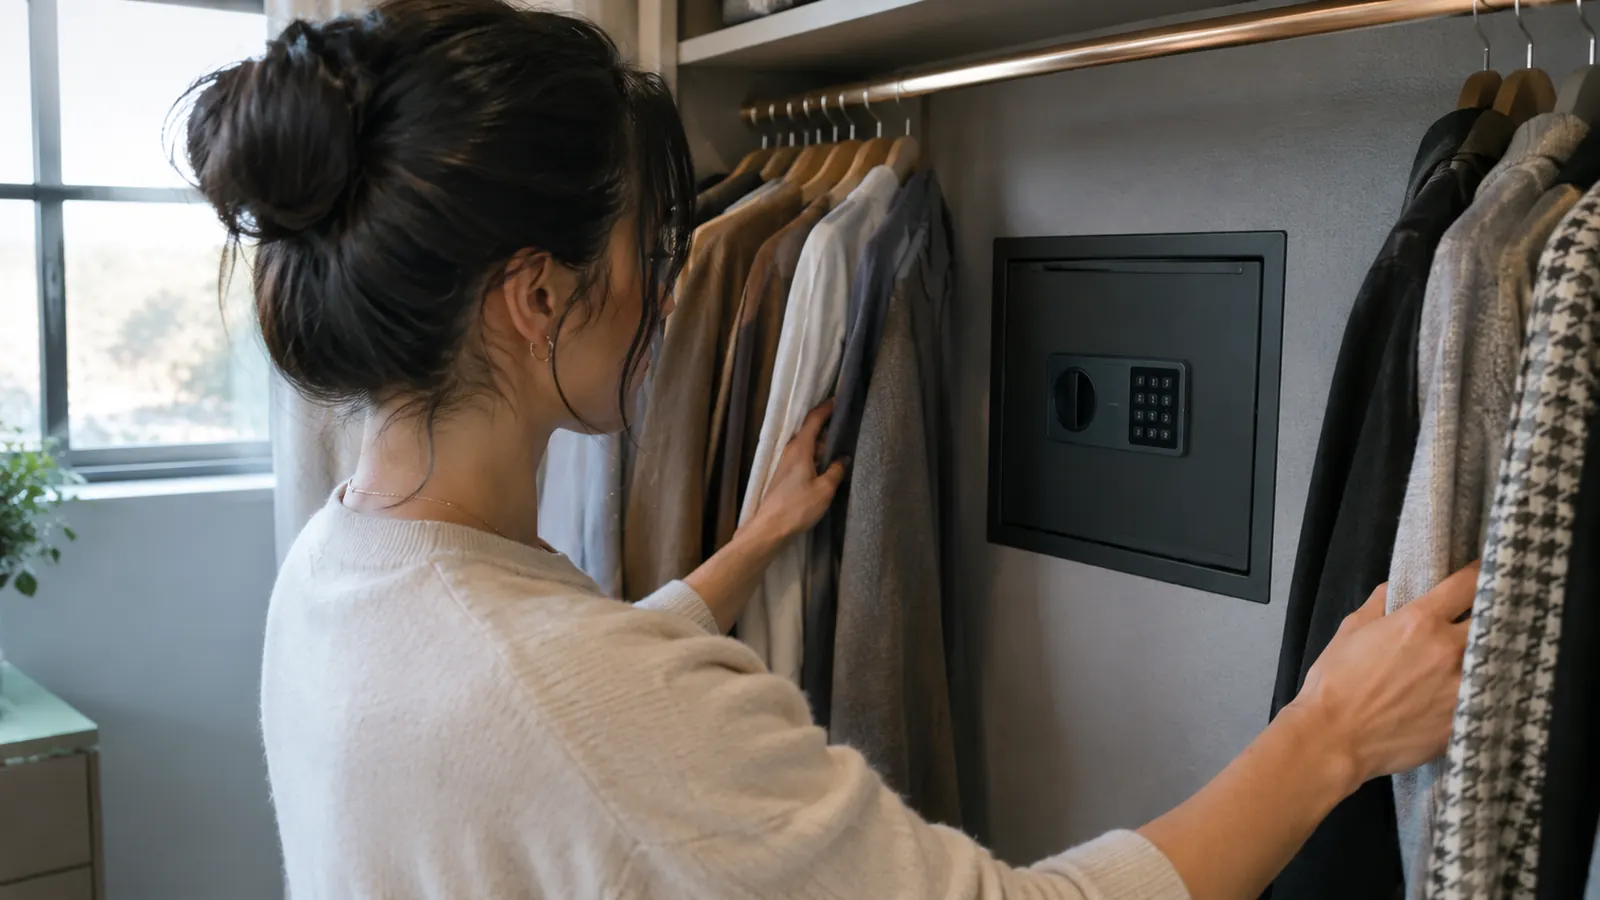
After 25 years as a homeowners-insurance claims adjuster, I can tell you exactly where burglars look first. The master bedroom closet. The top shelf. The shoebox on that shelf. The underwear drawer. The nightstand. The freezer. People are wonderfully predictable, and the people who break into houses know it. If your valuables live in any of those spots, they are not hidden. They are just organized.
That is why, about six months ago, my husband Ray and I installed a Paragon Lock & Safe in-wall safe between the studs in our bedroom closet wall, behind the hanging clothes. It took us an afternoon. It cost a fraction of what a big freestanding safe costs. And it hides the things we reach for most in a place no one thinks to look. Here is how we did it, and what I would do differently if I were starting over.
The safe we installed between our closet studs
The Paragon Lock & Safe in-wall keypad safe sits flush in the wall, hides behind hanging clothes, and holds more than you expect once it is between the studs. It is the same model Ray and I put in our bedroom closet.
Amazon Check Today's Price on Amazon →Step 1: Choose the wall before you choose the safe
The single biggest mistake I saw in claims work was people hiding things in rooms burglars never bother with, then putting the safe in the one room they always hit. The master bedroom closet is the first place a burglar checks. That sounds like a reason to avoid it. It is actually the best reason to use it. A safe hidden in the place they search first, but built into the wall behind hanging clothes, is the last thing they find.
You want an interior wall, not an exterior one. Exterior walls have insulation and sometimes plumbing or wiring, which makes the cut messy and the fit tight. Interior walls are simpler. You also want a wall you are willing to cut into. In our case that was the wall at the back of the bedroom closet, which shares the hallway on the other side. No plumbing, no electrical, just studs.
Before you cut anything, run a stud finder across the wall and mark both edges of every stud you find. Standard stud spacing is 16 inches on center, which leaves about 14.5 inches of open space between studs. Most in-wall safes, including the Paragon Lock & Safe model we used, are designed to fit that opening. Measure the opening you actually have, then check the safe's dimensions. It should slide between the studs with a little room to spare, not have to be forced. I can give you a concrete example of why this matters. A few years back I handled a claim in the Northeast Heights where the homeowners had tucked a silver service set in a laundry basket under the utility sink. The burglar found the basket in about a minute, dumped it on the floor, and took the pieces that fit in his bag. He did not even take the whole set. What he could not carry he left on the linoleum. That is the thing about hiding spots: burglars know the list. The top shelf, the underwear drawer, the freezer, the laundry basket. A wall cavity behind hanging clothes is not on the list.
Step 2: Cut the opening and check what is behind it
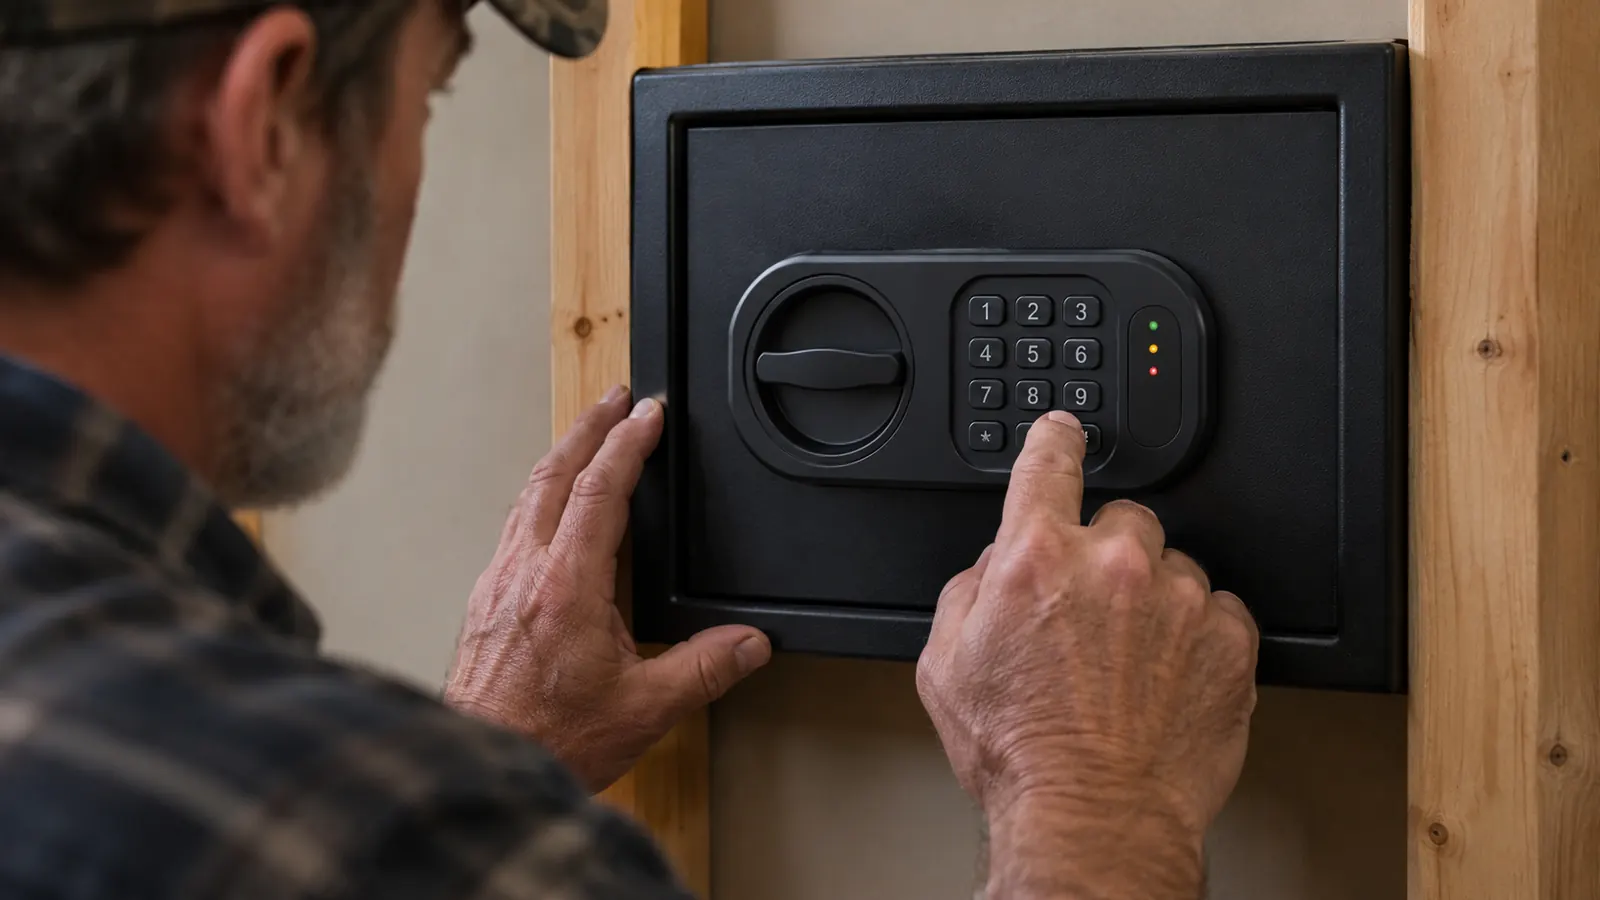
Once you have marked the studs, trace the safe's opening onto the drywall. The paper template that came in the box made this easy. Use a level, because a safe that sits crooked in the wall will drive you crazy every time you open it. Then cut along the line with a drywall saw. Go slowly. It is much easier to widen a hole than to un-widen one.
Before you slide the safe in, shine a flashlight into the wall cavity. You are checking for three things: wires, pipes, and ductwork. If you hit any of those, stop and pick a different stud bay. This is the step people skip, and it is the step that turns a one-hour job into a drywall repair project. In our closet the cavity was clean, which is what you want. We did the cut on a Saturday morning in early spring. Ray traced the template while I held the level, and he cut the drywall with a jab saw. His first cut was too conservative, about a quarter inch inside the line, and the safe would not slide in. Rather than force it, he went back around the opening with the saw and widened it a little at a time until the safe dropped in with a few millimeters of clearance. That is the right way to do it. If you have to hammer a safe into the opening, the drywall will crumble and the front flange will not sit flat against the wall.
One more thing while the wall is open: look at how deep the cavity is. The Paragon Lock & Safe in-wall safe is shallow by design, which is why it fits between studs without protruding into the room. But the depth still needs to clear whatever is behind the drywall. If your wall is unusually shallow, measure before you commit.
Step 3: Slide the safe in, level it, and secure it to the studs
Slide the safe body into the opening. It should sit snugly between the studs. Check it with a level on the top edge and on the front face. Then secure it through the mounting holes on the sides of the safe into the studs. Ray used the screws that came with the unit. This is the step that makes the safe actually part of the wall, so do not skip it. A safe that is not fastened is just a metal box with a door. Our first attempt at leveling taught me something. The closet floor is not perfectly level, and neither is the wall. The safe sat level on its top edge, but the front face leaned out a quarter inch at the bottom. Ray shimmed the bottom edge with a couple of thin pieces of cardboard from a shipping box, checked the level again, and then drove the screws. The cardboard is still in there, hidden behind the flange, and the door closes perfectly. A safe that is not level will bind on its hinges over time, and a binding door is how people end up leaving the safe cracked open out of frustration.
The front flange of the Paragon Lock & Safe covers the cut edge of the drywall, which means you do not need to be a drywall finisher to make it look clean. That was the detail that sold me. I have seen too many amateur safe installs that looked like a hole in the wall with a box in it. This one looks intentional, because the trim covers the rough edge.
Take your time with the screws. Drive them straight, and do not overtighten. The goal is for the safe to feel like it grew there. When you are done, give the door a few test swings. It should open and close smoothly, with no binding against the drywall.
Step 4: Set the keypad code and test it with the door open
Program the keypad before you put anything inside. The Paragon Lock & Safe in-wall safe comes with a digital keypad and two manual override keys, which is exactly the combination I recommend to anyone who asks. The keypad is what you will use every day. The keys are what save you when the battery dies at 11 p.m. and you need your passport in the morning.
Set a code you will remember without writing it down. We chose a date only Ray and I know, not an anniversary or a birthday, because those are the first guesses a thief tries. Then test it a dozen times with the door open. I tested ours forty times that afternoon, both with the door open and with it closed, and I made Ray test it too. This is the moment to catch a sticky keypad or a code you keep fumbling. It is also the moment to decide where the spare keys live. Do not put them in the same room as the safe. I keep our override keys in the locked glove box of the car. That is far enough away to matter, close enough to be practical. In my claims years I saw the aftermath of a dead-battery lockout exactly once: a couple in the South Valley who could not get their passports out the morning of an international flight. They had never located the backup key slot. It took a locksmith to fix. That is why I say find the override keys before you need them.
A note on the battery: the keypad runs on batteries, and the low-battery warning is easy to miss. I put a reminder on my phone for every six months to swap in fresh batteries, whether the warning light is on or not. A six-month reminder costs nothing, and it is cheaper than a locksmith.
Step 5: Hang clothes back over it and load it sensibly
This is the part that makes the whole project work. Hang shirts or jackets back over the front of the safe. From two feet away, it looks like a normal closet wall. The safe is invisible until you sweep the clothes aside. That is the hiding spot. That is the whole trick.
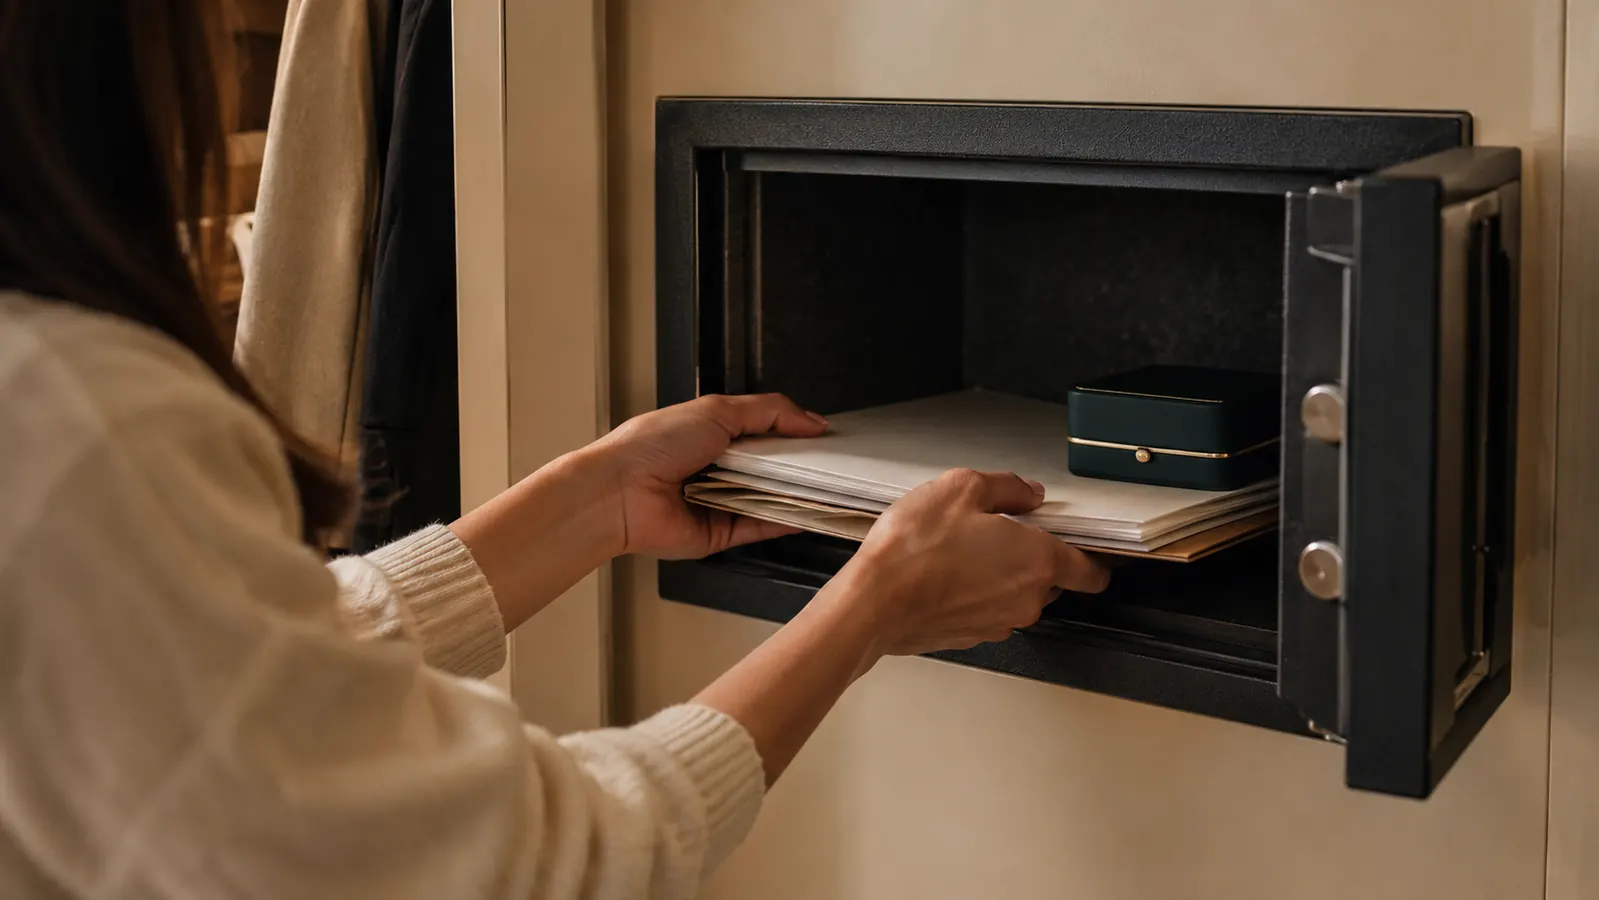
What goes inside matters too. I sorted everything into two piles on the bed that afternoon: the paperwork that would be a pain to replace and the small things we reach for often. The small things went in the Paragon Lock & Safe: spare cash, a few everyday items, and anything we would grab if we had two minutes. The paperwork went in the larger fireproof safe in the hall closet with the deed, the titles, the passports, the insurance policies, and the backup drive of family photos. It took me twenty minutes, and it meant every drawer in the house finally had a clear answer for where things live. The in-wall safe is for things you want protected from a quick grab, not for your complete life's paperwork.
One habit I recommend to everyone: keep a list of what is in the safe, with photos, in your phone or with a trusted family member. In my claims years, the people who recovered the most after a loss were the ones who could prove what they owned. A safe protects the item. A list protects the claim.
What Else Helps
An in-wall safe is one layer, not the whole plan. A few things that cost almost nothing make it work better. A motion-sensor light in the closet means you are never fumbling for the keypad in the dark. Ray mounted ours in about five minutes, and it has already paid for itself on the nights I come home after dark and need something out of the safe without turning on the bedroom lights. A small LED puck light inside the safe makes it easier to see what you are grabbing. And if you have a second safe, put the most important documents in the fire-rated one and the everyday valuables in the in-wall one, which is exactly how our house is set up.
Also consider what the safe is bolted to. An in-wall safe anchored between studs is already far harder to remove than a lockbox sitting on a shelf. That is its main advantage. No burglar carries a crowbar into a closet and starts prying studs. They grab what is visible and go. The Paragon Lock & Safe works because it is not visible.
In 25 years of claims work, I never once saw a burglar pry a safe out of a wall. I saw plenty of emptied shoeboxes, nightstands, and freezers. The wall safe wins because it is not visible.
Hide the valuables you actually reach for
The Paragon Lock & Safe in-wall keypad safe takes an afternoon to install, hides behind hanging clothes, and keeps the things you use most out of sight. It is the same model Ray and I put in our bedroom closet.
Amazon Check Today's Price on Amazon →